Showing posts with label Art. Show all posts

Saturday, May 18, 2013

Butterfly work

 This week we began studying butterflies.  We ordered caterpillars and watched them munch away at their special food.   We offered a painting work to show that butterfly wings are (mostly) symmetrical.  The child paints one side, lightly pushes it down with their hand and unfolds.
 Voila, a mostly symmetrical butterfly!
We then offered a life cycle work.  The child glues various pasta and leaves on the plate to show the egg, caterpillar, chrysalis and butterfly phases. 

Saturday, May 11, 2013

A poem for Mother's Day

The afternooners wrote a poem for their mothers yesterday.  We began this work by thinking of words that came into our mind when we thought of our mothers.
We had the children write them on sticky notes so they could be arranged and moved around.
 This is what they wrote:
Hug Kiss Cutest
Best Cook Baking
Brownies Muffins
Love
The children put a lot of thought in how to arrange the words.  It was wonderful to watch them work this out as a group. 
After the words were written, they flipped the watercolor paper over and used crayons and watercolors for a wax-resist art project.

Happy Mother's Day to all of our amazing Mothers!!

Friday, March 1, 2013

G'Day Mate! Australia

This week we began to study Australia.  The children were able to choose to complete various dot paintings.  We had various animals and a sun available.  They enjoyed the technique of using a cotton swab to dab (dot) the paint on the paper. 

 We also had out an Australian pin map as well as coloring a map of Australia.  This complements out large continent puzzle map. 
Many children enjoyed making a "parts of a Kangaroo" book.  We learned that the kangaroo's front limbs are called arms like ours are!  It was also fun to learn that the baby in the pouch is called a "joey."

Friday, February 15, 2013

Valentines, Valentines, Valentines!

This past week (and last week) we had many Valentine activities on the shelves!  One was making your own Valentine bag!  The children wrote their name on ones side of a white paper bag and then glued on a red or pink doily heart on the other side.  They were all so happy to be able to have a bag so they could take their Valentines home! (Even better, it was one they made!)
 We also made Valentine cookies!  Here two older girls help out other children make the cookies.  (Afternoon children made the dough on Tuesday afternoon).
 They first wash put on an apron then wash hands.  Lightly flour the surface, roll out the dough ball, cut out the heart and then carry it on the spatula (!) to a baking tray on a different table. 
 On Thursday morning the children decorated the cookies with frosting and a tiny amount of sprinkles.  Before going home on Thursday they all ate the cookies!
Happy Valentines Day!

Friday, February 8, 2013

Penguins

 As we began our study of Antarctica this week, we also decided to study penguins!  After some discussions regarding penguins (what type of vertebrate, where they live, what they eat etc..) we made parts of a penguin books.  We learned that the males have a 'brood pouch' for the egg they hold on their feet for six weeks. 

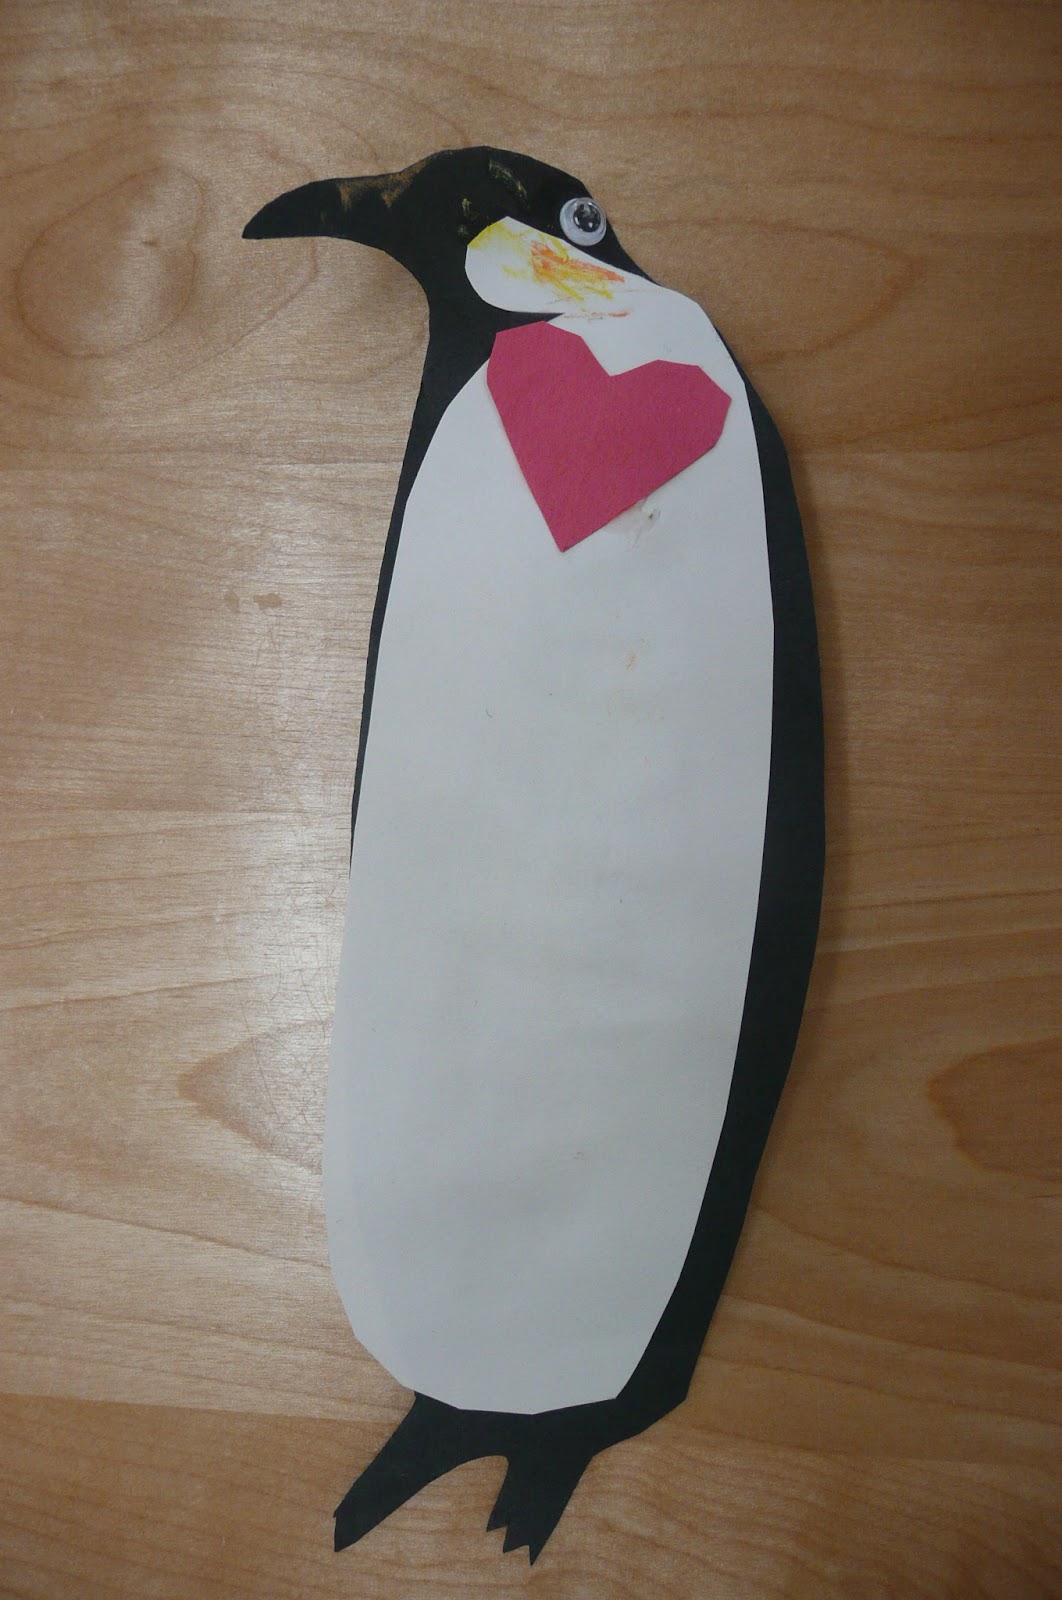
We also made an emperor penguin and macaroni penguin.  One special emperor penguin had to also have a Valentines heart! 


We also played a game and sang a song about penguins and their eggs.  We took turns holding the eggs on our feet and waddling around.  (Made of felt and stuffing)
"Penguins, penguins, having fun!  Waddling in the winter sun.  Waddling fast and waddling slow.  Waddling to and waddling fro!" (repeat first two lines)

Friday, February 1, 2013

Glimpses of work at AACH this past week...

Paper Weaving
 Addition with the Addition Strip Board
 More circuit work!!
Stencils!

Saturday, December 15, 2012

puffy paint

This week the children enjoyed using the "puffy paint" in free art.  We changed the color each day by adding a few drops of food coloring.  The children do this work at a table and use a spoon to place the paint on the paper.  They can use their hands, spoon or paint brush to spread the paint around. 

If you would like to do this at home use a large metal bowl and add shaving cream and about the same amount of glue.  To add color, use a few drops of food coloring. 

Sunday, December 9, 2012

Our Final Vertebrate Study- Fish

As we were studying fish last week, we decided to have one of our own in the classroom.  His or her name is Snowflake (or Snowfluke depending on who you ask) and is fun to watch and feed. 
We like to give the children a concrete example of what it is we are taking about and they can see Snowflake's fins and gills. 

We also introduced fish matching cards.
As we did last year, we brought in a large, dead fish to look at the parts up close.  The children were very interested in the large eye and most wanted to touch it!  (Don't worry, they washed their hands!)
We then discussed all of the parts and many children made parts of a fish book.


We then demonstrated how to make a fish print and let the children paint the fish!  This activity only lasted two days as the fish began to not smell so fresh! 
 
Since the fish had seen better days, we decided to show the children the internal organs.  Some were very curious about the different internal parts as they had already found out about the external parts. 


Friday, September 28, 2012

Afternoon Sculpture Work

As one of our teachers has a Masters in Education with a focus on using the creative arts in learning, we decided to spend some time learning about sculpture today.  We had previously discussed the Lincoln Monument while using our microscope (see previous post) and had talked about it being a sculpture.  Today the afternoon children were read 3-D ABC, A Sculptural Alphabet by Bob Raczka.  This helped them to see many different types of sculptures.  (We also read had a book about the Lincoln Memorial and were able to see how big this was - much different from the back of a penny!)
We had been saving lots of items that would have been recycled and also went to the Scrap Box to obtain the rest of the parts to create our own sculptures.

                         They chose what items they would like to incorporate into their work.

Here are some masterpieces. 
 
This was a lot of hard work!
 

Sunday, May 13, 2012

Mother's Day Gifts

Happy Mother's Day!
To all of our wonderful mothers!  Hopefully you have unwrapped your gift that your child made for you!

We decided to use our previous knowlege of paper making to make brooches for our Mother's Day gift.
We first made paper. (see previous blog on how to make paper)  We used two small molds to pour the paper pulp through, on in the shape of a flower and one a leaf.  These then dried overnight.
The next day the children glued the pieces together then added small "jewels."
A teacher then hot glued the fastener to the back.
The children wrapped them the next day!
Thank you to all of our amazing mothers!!


Wednesday, March 21, 2012

G'day mate! Australian Dot Painting!

We have left Africa and have moved onto Australia!  The children had a chance to engage in a fun way to paint.  The paint is applied with a cotton swab in an effort to reproduce the dot painting seen in Australian art. 
We began with suns and then used black and white productions of Australian animals.
This is a very simple activity to try at home, paint with a cotton swab!

Monday, February 13, 2012

Japanese Crafts

Last week while studying Japan, the children made some crafts related to Japan.All of the children had the opportunity to make a cherry blossom tree collage.  We used a piece of blue paper, glued on some twigs for the trees and then crumpled up the pink tissue paper and glued on the tree.

The afternoon children were able to experience more Japanese crafts.
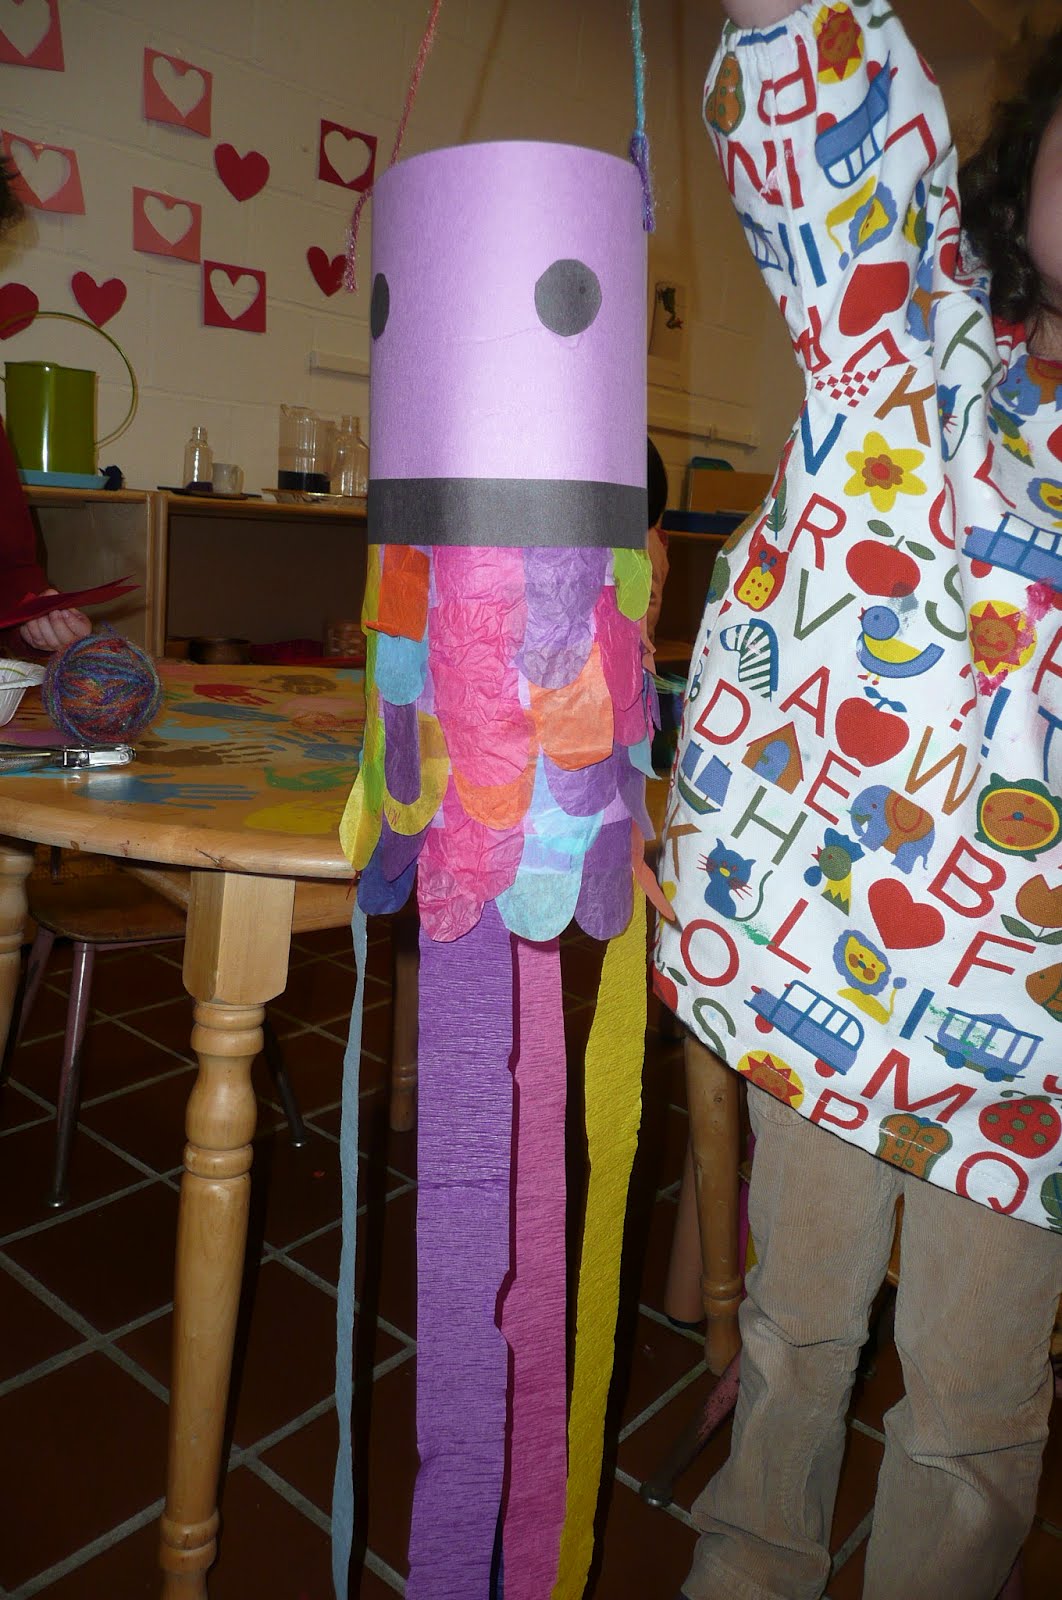
We were able to make Koi Nobori kites. This was a great craft to make as the children could be quite independent. They only needed a little direction with the placement of the paper.
Here the child is gluing the scales to the paper. She puts down a large strip of glue and simply places the scales on the strip.
After several rows of scales are on the kite, glue on a long black strip of construction and two eyes.
Flip over the paper, glue strips of crepe paper for the tail. The children cut these idependently and glued them on the other side.
Finished kites!
Here is a link to the website: http://www.thecraftyclassroom.com/CraftJapanCarpKite.html

We also made Kokeshi dolls. We had prepared in advance by hot gluing a ping pong ball on top of an empty yogurt drink container.
First the children picked out the color they wanted to use. They painted it onto the doll. We forgot to leave the head white and so they all had the same color all over their body.
You can then paint on the clothes or use a marker to draw them on. Some children drew on hair with black marker.
Here is a link to this craft: http://www.enchantedlearning.com/crafts/japan/kokeshi/