How does one study Antarctica? In a Montessori environment we begin the study of continents by using the beautiful continent maps. Antarctica is unique for many reasons. One is that it is not divided up into separate countries. We don't have a puzzle to represent Antarctica so we decided to give a concrete experience by freezing water and explaining the characteristics to the children.
The children were also shown different animals that can be on the land and ones only in the water around Antarctica. Although this is a cold work, the children seem to enjoy playing with the animals on the ice.
This can be a two person work which helps to foster social skills and sharing!
Thursday, January 12, 2012
Archipelago and System of Lakes
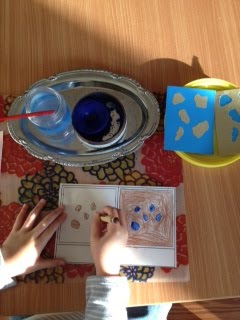
In our land and water form study, we began archipelago and system of lakes. We begin by giving a concrete experience of pouring water into our forms.
We then give a tactile experience by presenting the sandpaper representation and use this as a model when coloring and painting on paper.
Cheese Cutting
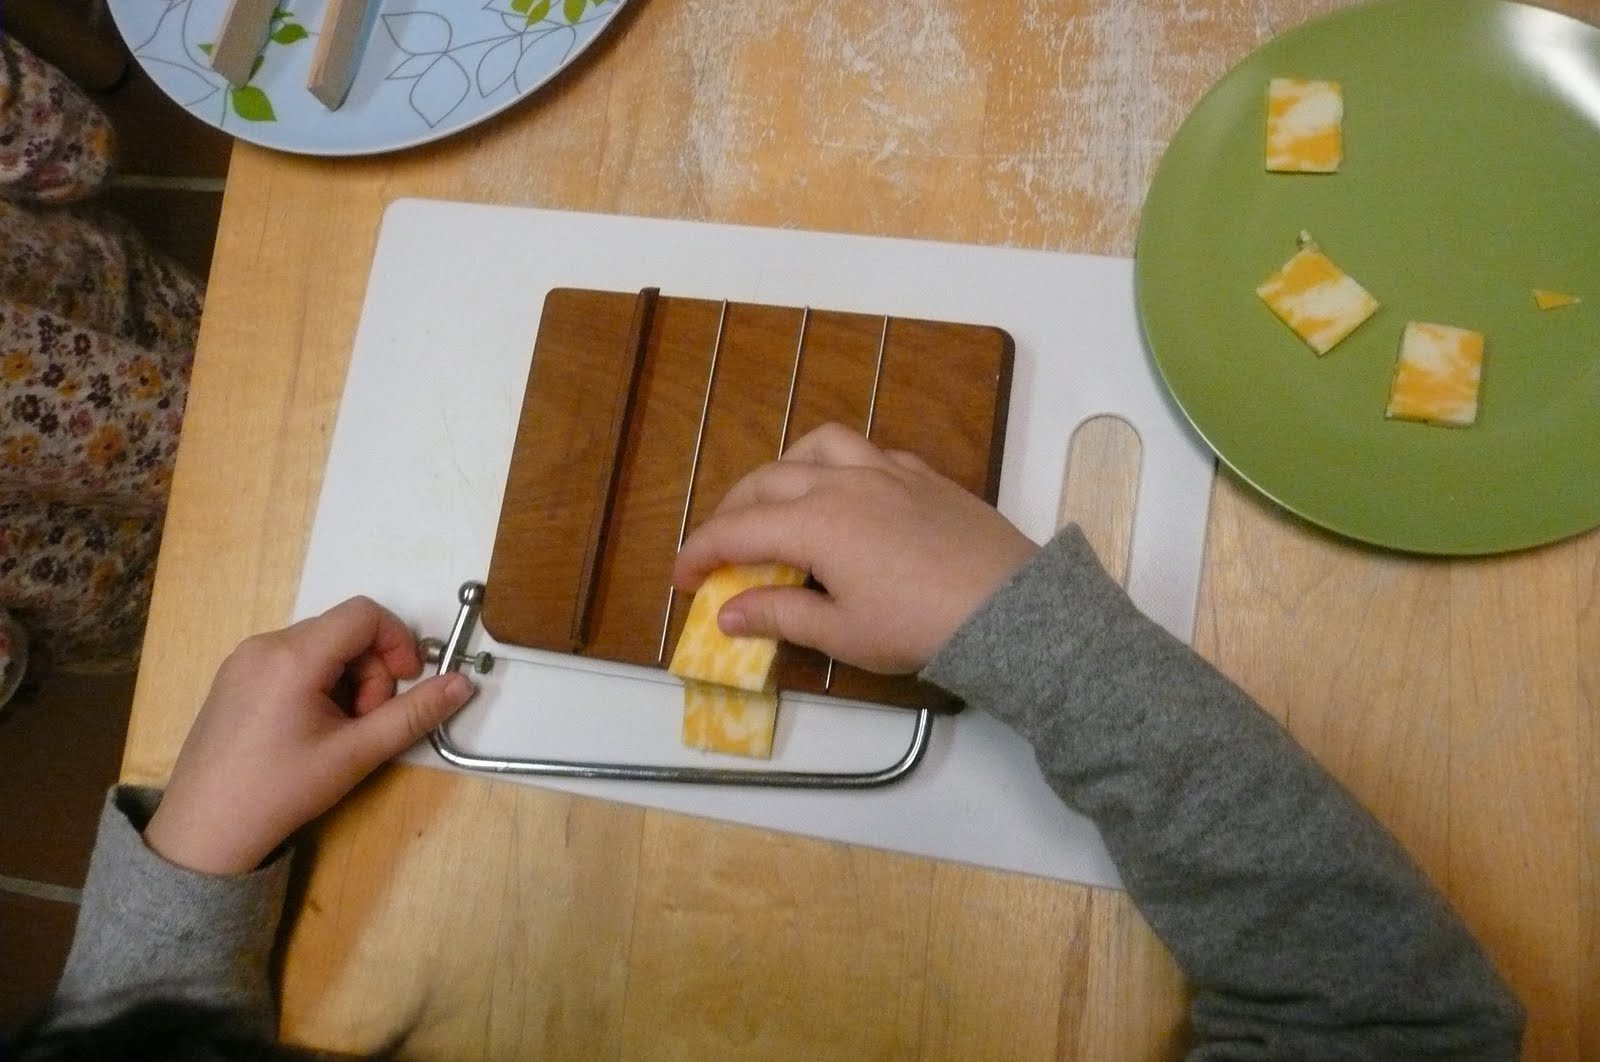
The children have begun using a cheese slicer as a way to cut their own snack. First they carry the materials needed to a table. Then they put a piece of pre-cut cheese on a plate.
Slice pieces, put on a plate and enjoy!
We have also used this for banana slicing today.
Activities like this give the children a sense of control in their environment, foster independence, refine motor skills and satisfy their hunger when they are hungry!
Slice pieces, put on a plate and enjoy!
We have also used this for banana slicing today.
Activities like this give the children a sense of control in their environment, foster independence, refine motor skills and satisfy their hunger when they are hungry!
Friday, December 30, 2011
Movement
Dr. Montessori felt that movement was vital to a child’s education. “But movement is a part of man’s very personality, and nothing can take its place.” She writes in The Secret of Childhood. (p. 97) She instructed educators not to inhibit movement but to give order to a child’s movements.
“We must desist from the useless attempt to reduce the child to a state of immobility. We should rather give “order” to his movements, leading them to those actions toward which his efforts are actually tending. “ Dr. Montessori’s Own Handbook. (p. 52)
Therefore in Montessori classrooms children are given LOTS of opportunity for movement. Materials are carried to rugs and tables before working with. Rugs are rolled up and chairs are pushed in when a child is finished. Activities are carefully chosen so that they do not hinder a child’s movements. For example, a teacher makes sure a pitcher is easy to grasp and balance so that the child can practice pouring and not get frustrated with the pitcher’s handle.
One exercise that Dr. Montessori developed for teaching movement is called “walking on the line.” In our classroom we have a large circle taped to the floor. At first we showed children how to walk, one at a time trying to balance as if the tape were a balance beam. We then added interest by giving children something to carry as they walked. Then we added some lovely piano music composed by Sanford Jones , a Montessori teacher who has created many musical activities for children. We now walk, march, gallop and run (without shoes,) a few at a time and have a lot of fun. The children really enjoy this activity and it is great to see their coordination and sense of rhythm develop.
Another movement exercise the children are currently enjoying is to build a maze with the red rods and then take turns walking through it. A teacher stands by and helps straighten the maze when necessary and help with turn taking if needed but this is mostly an independent activity.
Tuesday, December 20, 2011
Sandwich Making
Today as our snack, we offered sandwich making. The children very excited to do this on their own. We used organic strawberry jam and cream cheese with whole wheat bread.
First spread on the cream cheese.
Then, the jam.
Put both sides together and enjoy!
The children really enjoyed being independent and loved making their own sandwiches. Try this at home with small, dull knife. They were all able to spread the fixings on by themselves without difficulty.
Friday, December 16, 2011
Homemade Fish Crackers
This week we decided to give homemade fishy crackers a try. These turned out to be very labor intensive but it was fun and the children seemed to enjoy the process.
First up was grating the cheese. We then made the dough (recipe to follow) and using a lightly floured surface and rolling pin rolled the dough into 1/8 inch thick pieces. We used a tiny fish cookie cutter hand crafted by Amy. (amazing!) Once in a while the cutter was dipped in flour to help the shape drop out.
Bake at 350 degrees for 12 to 15 minutes, making sure they don't get too brown.
Enjoy!
Fish Crackers
Yield: About 100 small crackers
6 ounces sharp cheddar, orange if you can find one you like
4 T. butter
1/2 c. all purpose flour
1/4 c. white whole wheat flour
1/8 t. onion powder
1/8 to 1/4 teaspoon table salt
Preheat oven to 350. Combine all ingredients in a food processor, running until the dough forms a ball, up to 2 minutes. Wrap dough in waxed paper or plastic wrap and chill in fridge for 30 to 45 minutes which also makes it easier to transfer shapes. Cut out the shapes. Bake for 12 - 15 minutes or until barely brown at the edges. Remove and set on a rack to cool.
These could also be made with bigger shapes and would not take as long to make.
Fish Prints
Since we are studying fish in science, we decided to use the fish (see previous post) to create fish prints. First paint the fish.
Press a piece of paper on top, making sure to get all of the parts.
Lift the paper and voila!
The next day we flipped the fish over (after being stored in the refridgerator overnight) and made green prints the next day.
Subscribe to:
Posts (Atom)