Friday, December 30, 2011

Movement

Dr. Montessori felt that movement was vital to a child’s education. “But movement is a part of man’s very personality, and nothing can take its place.” She writes in The Secret of Childhood. (p. 97) She instructed educators not to inhibit movement but to give order to a child’s movements.
“We must desist from the useless attempt to reduce the child to a state of immobility. We should rather give “order” to his movements, leading them to those actions toward which his efforts are actually tending. “ Dr. Montessori’s Own Handbook. (p. 52)
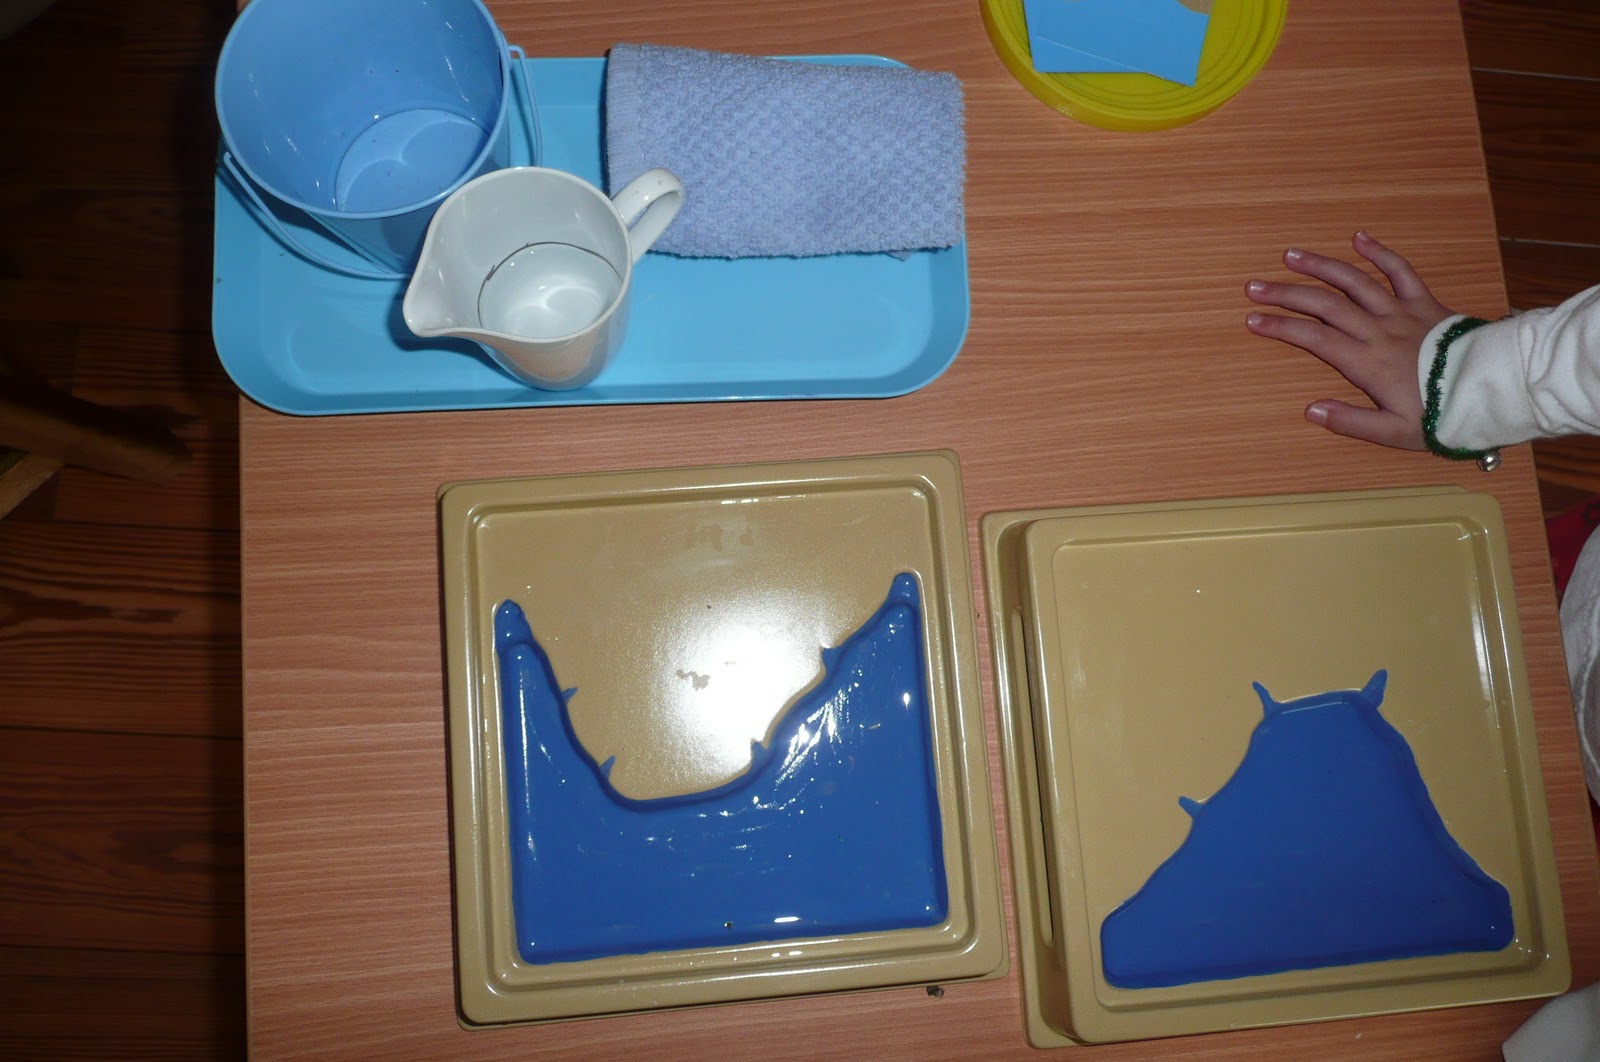
Therefore in Montessori classrooms children are given LOTS of opportunity for movement. Materials are carried to rugs and tables before working with. Rugs are rolled up and chairs are pushed in when a child is finished. Activities  are carefully chosen so that they do not hinder a child’s movements. For example, a teacher makes sure a pitcher is easy to grasp and balance so that the child can practice pouring and not get frustrated with the pitcher’s handle.
One exercise that Dr. Montessori developed for teaching movement is called “walking on the line.” In our classroom we have a large circle taped to the floor. At first we showed children how to walk, one at a time trying to balance as if the tape were a balance beam. We then added interest by giving children something to carry as they walked. Then we added some lovely piano music composed by Sanford Jones , a Montessori teacher who has created many musical activities for children. We now walk, march, gallop and run (without shoes,) a few at a time and have a lot of fun. The children really enjoy this activity and it is great to see their coordination and sense of rhythm develop.

Another movement exercise  the children are currently enjoying is to build a maze with the red rods and then take turns walking through it. A teacher stands by and helps straighten the maze when necessary and help with turn taking if needed but this is mostly an independent activity.


Tuesday, December 20, 2011

Sandwich Making

Today as our snack, we offered sandwich making.  The children very excited to do this on their own.  We used organic strawberry jam and cream cheese with whole wheat bread. 

First spread on the cream cheese.
Then, the jam.
Put both sides together and enjoy!
The children really enjoyed being independent and loved making their own sandwiches.  Try this at home with small, dull knife.  They were all able to spread the fixings on by themselves without difficulty.


Friday, December 16, 2011

Homemade Fish Crackers

This week we decided to give homemade fishy crackers a try.  These turned out to be very labor intensive but it was fun and the children seemed to enjoy the process. 
First up was grating the cheese.  We then made the dough (recipe to follow) and using a lightly floured surface and rolling pin rolled the dough into 1/8 inch thick pieces.  We used a tiny fish cookie cutter hand crafted by Amy.  (amazing!) Once in a while the cutter was dipped in flour to help the shape drop out. 

Bake at 350 degrees for 12 to 15 minutes, making sure they don't get too brown.
Enjoy! 

Fish Crackers
Yield: About 100 small crackers
6 ounces sharp cheddar, orange if you can find one you like
4 T. butter
1/2 c. all purpose flour
1/4 c. white whole wheat flour
1/8 t. onion powder
1/8 to 1/4 teaspoon table salt
Preheat oven to 350.  Combine all ingredients in a food processor, running until the dough forms a ball, up to 2 minutes.  Wrap dough in waxed paper or plastic wrap and chill in fridge for 30 to 45 minutes which also makes it easier to transfer shapes.  Cut out the shapes.  Bake for 12 - 15 minutes or until barely brown at the edges.  Remove and set on a rack to cool.

These could also be made with bigger shapes and would not take as long to make. 


Fish Prints

Since we are studying fish in science, we decided to use the fish (see previous post) to create fish prints.  First paint the fish.
Press a piece of paper on top, making sure to get all of the parts.
Lift the paper and voila!
The next day we flipped the fish over (after being stored in the refridgerator overnight) and made green prints the next day. 


Second Vertebrate- Fish

This week we began the study of another vertebrate, fish.  This began with reading a story about fish including the characteristics of a fish. 
We also presented fish cards to match.  They loved looking at the different types of fish to see if they had ever seen one like that.  The puffer fish was of interest as there is a tank at the downtown library that contains one.  Many of the children have seen that tank.  (There is also a fish tank at the Hands On Museum- if you go to either place, be sure to check out the fish.)
For a very concrete experience, we brought in a whole fish.  The children were able to see the gills, scales, lateral line, mouth, eyes etc..  This was very exciting for them, some wanted to touch the fish and some wanted only to observe. 
Having this concrete experience was more meaningful when creating a parts of the fish booklet, they had seen the real thing, this was an extension. 
Since we have a fish in our classroom, we decided to clean the tank when the children were present so they could understand how to care for a pet fish.  We had many helpers and they were able to experience giving the fish new, clean water. 
If you have a chance, check out the fish at the supermarket, at the library, Hands On Museum or any other place you may find them. 


Tuesday, December 13, 2011

Writing on the Chalkboard

Another way to practice writing letters besides the sand tray (see previous post) is writing on a chalkboard.  Funny how this may be one of the few times a child of this age will actually have this experience! 
The child first traces the sandpaper letter with their finger which is the same way the sand tray work is done.  They pick up the chalk and write the letter on the chalkboard. 
So many of our children are beginning to write.  We write in the sand tray, with the chalkboard, on paper and sometimes they will paint letters at the easel.  Of course, we have our metal insets which is a great place to begin writing practice!  It is so important to provide the environment which will enhance the child's development of a certain skill at a specific time.  So, the sensitive period for writing has begun, I see some holiday gift opportunities!  (Fun pads of paper, colored pencils, crayons, markers, colored pens etc...) This is something that is never forced, the child should come to it themselves. 

Wood and Metal

Some things are made of wood, some are made of metal.  Wood comes from trees, metal comes from rocks in the Earth. Children can choose from a basket and place items into smaller baskets.  This is a great classifying activity. 
In Montessori education, we are always trying to provide the children with concrete experiences

South America Flag Work

To continue our study of South America, the children will have a chance to match various flag cards.  This is a work all of the children can successfully do without assistance after the initial presentation. 
Another extension to this work that can be completed is making their own flag book.  Given a blank page, a child can use a ruler, pencil and some crayons to create as many flags as they wish.  This child started with one, wanted to do another, then another and today finished a book.  She put on a purple cover and was very excited to take it home.  This is a work usually completed by older children or those with highly developed  fine motor skills.
Each year, the child's knowledge about a certain continent will expand with more variations and extensions. 

Saturday, December 10, 2011

Venezuelan Arepas!

As we are studying the continent of South American in Geography, we decided to explore the country of Venezuela as we have a student visiting from there for the year.  Her mother Kathy and Tia Maria (who lives in Madrid now) came to school to help teach the children a little about Venezuela.  They brought all of the ingredients and necessary equipment to make the Venezuelan staple called 'arepas.'  This is a small corncake made with three simple ingredients:  precooked cornmeal (PAN), salt and water.
Kathy said to take about 2 c. of water and put into bowl with 1 t. salt.  Begin adding the PAN, kneading the dough until it is firm.  Roll the dough into a ball which can vary in size depending on how big you want the arepa to be.  Pat the dough ball and flatten into little pancake shapes.  Kathy and Maria have done this for years and can shape into perfectly formed circles.  The resulting shape does not matter as long as it is not too thick.  Place on the griddle and lightly fry.  Kathy uses a non-stick pan but you could use a stainless steel frying pan with a little oil.  Other arepa recipes say to then bake in the oven but it is not necessary. 
When golden brown on both sides, you can slice and put anything in the middle.  The children had grated cheese so we put this in the middle.  It was very, very, very good!
While eating, Kathy showed us pictures of Venezuela and Maria played some music from Venezuela. 
Muchas Gracias Kathy and Maria! 


Thursday, December 8, 2011

Granola Bars

More baking!  The winter is upon us and baking is practical, fun and warm!  We decided to make granola bars together.  Wash hands, put on apron, mix ingredients, push in a pan and bake! 
Mix together:
3 c. oats
1 c. coconut
1 c. chocolate chips (we used about 1/4 c. at school)
1/2 c. dried fruit
2 T. melted butter
14 oz. sweetened condensed milk
1/2 c. wheat germ
Press into a greased pan (or parchment paper).  350 degrees for 20 minutes.
Enjoy! Make sure to cover if eating the next day.  These may be cut up into rectangular pieces and frozen in tin foil.  They are great to throw in a lunch, thaws by lunch.
Enjoy!


Land and Water Forms- Cape and Bay

As a continuation of our land and water form studies, we introduced cape and bay this week.  The children are given a lesson with water and our forms.  They fill up the pitcher and pour it into a form while receiving the definition and a three period lesson.  "A cape is a point of land projecting into a body of water." "A bay is and area of water surrounded by land on three sides." 
Along with the concrete experience we also have small sandpaper cards that are in the shape of the cape and bay.  Here the children can feel the land part is rough and the water part is smooth. 
To help increase comprehension, the children are then able to brown crayon and blue watercolor paint to produce these forms on paper. 

Wednesday, December 7, 2011

Granola

Yesterday the children made granola to have as their snack today.  Many of them took turns helping in the process.  They are really getting used to cooking and now understand they must wash their hands and put on one of the child-sized aprons in order to help.
Pumpkin Spice Granola
Here is a child using a small spice grater to grate the nutmeg.
Adding ingredients, including pumpkin to the pan.
Spreading the granola on the pan for baking.
Enjoying with a bowl of organic vanilla yogurt!  YUM!

Pumpkin Spice Granola
3. c. old fashioned oats
1/2 c. canned pumpkin
1/4 c. honey or brown rice syrup
3 T. vegetable oil
2 T. packed light brown sugar
2 t. vanilla extract
2 t. ground cinnamon
1/8 t. ground ginger
1/4 t. ground nutmeg
Optional: dried fruit, sunflower or pumpkin seeds
Spread oats onto a 15 x 10 inch jelly-roll pan.  Toast in preheated 325 degree oven for 20 minutes, stirring halfway.  Reduce oven temperature to 250 degrees.  Pour toasted oats into large bowl.  If using, add the optional ingredients.  In a medium saucepan, blend pumpkin, honey, oil, brown sugar, vanilla, cinnamon, ginger and nutmeg.  Heat gently and stir until honey is melted and incorporated.  Pour over oats.  Toss well to coat and spread in greased (or parchment) pan.  Bake for 30 minutes stirring at 10 minute intervals.  After cooking add fruit.  While still hot, press mixture in to a hard pan with a flat spatula.  Cool and break apart. 


Tuesday, December 6, 2011

Clementine peeling

Another way to strengthen fine motor skills and practice a useful skill (while having a yummy snack) is peeleing clementines.  First the child washes their hands then they pick up half a peeled clementine.  They place it in a bowl and take the tray to the table. 


The child peels the clementine and places the wedges on a plate.  Then, they eat!
This is one activity the children really like to repeat!

The Sand Tray

The children are very interested in the sand tray in the school.  We have two sand trays which allow the child to trace various numerals and letters.  Once given a lesson on the name of the number or the sound of the letter, they trace the sandpaper to feel the shape and then trace it in the sand.  This gives the child the opportunity to practice writing letters/numbers before writing them on paper.  We have heard various shouts of joy when a child writes a "three!" or a "zero!" in the sand tray!  They are excited to be able to produce what is on the card themselves. 

This activity prepares the hand for writing, gives a stereognostic impression of the letter or numeral and gives the child the satisfaction of doing it themselves.

Marble transfer

We have introduced another transferring activity this week.  The children use a special spoon (picture a teeny tiny ladle) to pick up one marble and put it in the bottle.  When they are done they carefully pour the marbles back into the bowl.  The control of error here is the marbles make a loud clanking sound when they fall off the spoon. 

 Most of the materials in the practical life are self-correcting.  "The control of error through the material makes a child use his reason, critical faculty, and his ever increasing capacity for drawing distinctions."  Dr. Montessori
(The Discovery of the Child, 1967, p. 103).


Water transfer with a pipette

During Thanksgiving time we put out a work with a baster in the practical life area as we thought they may see someone basting a turkey.  To do this we used a child-sized baster and two bowls, one with colored water.  The children were able to figure out how to suck up the water with the baster and then move it (transfer)  to the other bowl.  We have now progressed to transferring water with a pipette.   This is a bit of a challenge as they have to demonstrate a great deal of control while squeezing the pipette - only one drop!

With repetition, the children are able to gain that control and most are now managing to get the drops in each little area. 

Transferring is fun to do and can be a great at home activity.  You could use a large turkey baster and two bowls.  Make sure to show the child how to use the baster, that is always the tricky part. 

Mammal study- visit from a special dog named Raven

As a continuation of the vertebrate studies, we have now begun the study of mammals.  The children have looked at cards of mammals, we have pointed them out in our environment (humans, squirrels, deer) and have now had a visit from a friendly, specially trained therapy dog named Raven.  Some children brought in photos of their mammal pets to show the rest of the class.  To enhance the whole experience, the children could choose to match picture cards with the various parts of a dog. 
A few made their own 'parts of a dog' booklet to take home. 
At the end of our morning time, Joan and Raven stopped by for a visit.  The children sat on the floor and took turns petting Raven and were able to have a very concrete experience with a mammal other than ourselves.  We discussed the various characteristics of the mammal such as: has hair or fur, gives birth to live babies and feeds their babies with their own milk. 
Joan answered many question about Raven while the children were shown how to pet her and let her smell their hands. 
A huge thank you to Joan and Raven, what a special morning!